Deployment the Cute Editor for ASPCute Editor for ASP is a custom ASP class that was developed as a replacement for the standard TextArea tag in content management systems. It is 100% HTML and JavaScript code on the client, and ASP code on the server, and can be setup on your web server in just 5 minutes, simply by following this setup guide. |
 |
Deploying the CuteEditor Client files. The "CuteEditor_Files" folder and all file it contains (located in the archive) should be deployed to http://{your site}/{your application}/CuteEditor_Files/ on your web site. If you want to deploy the CuteEditor Client file to a different location, you will have to make sure that you set your editor FilesPath property correctly. The control expects to find the all the files and images in the files directory specified by the control FilesPath property. 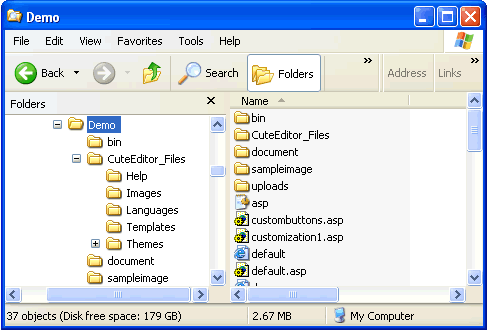
|
 |
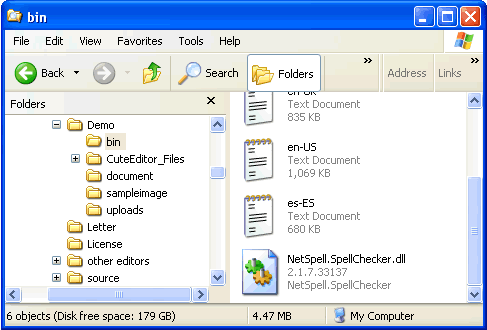
Deploying the netSpell.dll assembly and dictionary files Please note that you need to have the .NET framework installed on your web server to use this feature. If not, you can skip this step and use the IEspell instead. The following files should be deployed to the \bin directory for the web application that uses the CuteEditor.
|
 |
Copying the sample files If you want to launch the sample right away, place the default.asp or simple.asp in your application folder. 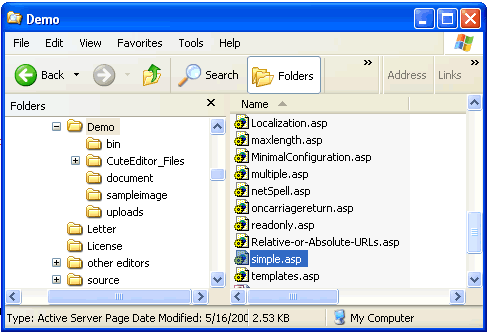
|
 |
Running the samples Access the editor via http://localhost/webapplication1/default.asp or http://localhost/webapplication1/simple.asp. The Cute Editor for ASP control should appear on the page, complete with all buttons on the toolbar and tabs at the bottom of the control. To make sure everything is working, enter a value in the text area and then click on the "save" button You should see the HTML generated by the CuteEditor for ASP control appear in the text box at the bottom of the page. Congratulations, your setup of Cute Editor for ASP was a success! 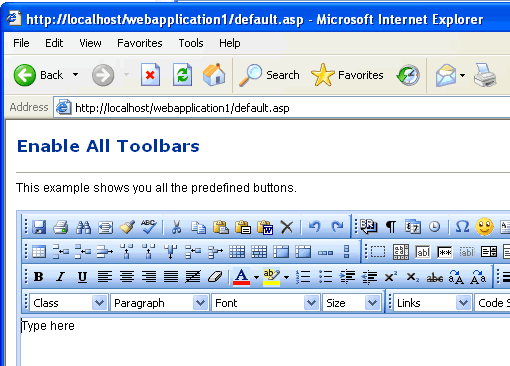
Note: When you are including Cute Editor for ASP in your own ASP files, make sure you include the class at the top of your page. |